MAKE MONEY and SAVE THE WORLD
(WITHOUT PROFESSIONAL MACHINES)
HOW TO RECYCLE PLASTIC AT HOME
(Without Professional Machines)
MAKE MONEY AND SAVE THE WORLD
Summary of the Video below:
– 0:00 Introduction
– 2:12 How to make KEYCHAINS with plastic waste
– 8:05 How to make a stronger PLASTIC BAG from used plastic bags
– 9:25 How to make a FRAME (or any other personalised idea) recycling plastic
Hallo teman teman!
Today is a special day. We’ve started this Do-It-Yourself Plastic Recycling adventure long time ago, after watching a video by PreciousPlastic.com (no, we are not sponsored by them, but we love them!) and desperately trying to find a way to make it real here in Bali.
But the main problem we’ve faced following their amazing tutorials, specifically the part of the machine building, almost broken our dreamers’ soul for a matter of knowledge, materials and, honestly, budget.
We really, really wanted fo find out a solution to this obstacle, and we really really pushed hard our problem solving skills after we arrived to this conclusion:
Getting a more “homemade” solution to produce recycled plastic items while cleaning the environment IS POSSIBLE. And helping the local community to get money from it, IS ALSO POSSIBLE! Bingo!
So we’ve promised ourselves then to collect and find the right energies to share our little experience for helping anyone wants to repeat this “Do our little best to Save the World” model and starting to make it a real business as soon as possible. Let’s start!
#1 Introduction

Before starting:
– Never burn the plastic! The goal is to melt it, not burn it!
– Different kind of plastic, different ways to recycle it. Learn the different codes by looking for it on the plastic items. We use HDPE – Code number 2 – Like: Shampoo bottles, body soap bottles, cap bottles and so on.
EXTRAS
If you want to collect a lot of plastic in a shorter time, and you want to turn an individual project into a community project, well so:
Involve people. Organise spontaneous cleaning groups, or pay poor families to pick up the plastic for you, cleaning river banks, beaches, and so on, getting a fixed price per kg.
If you live in Bali, ask help to the local Bank Sampah. They are Banjar organisations and they can really give the right boost to your project!
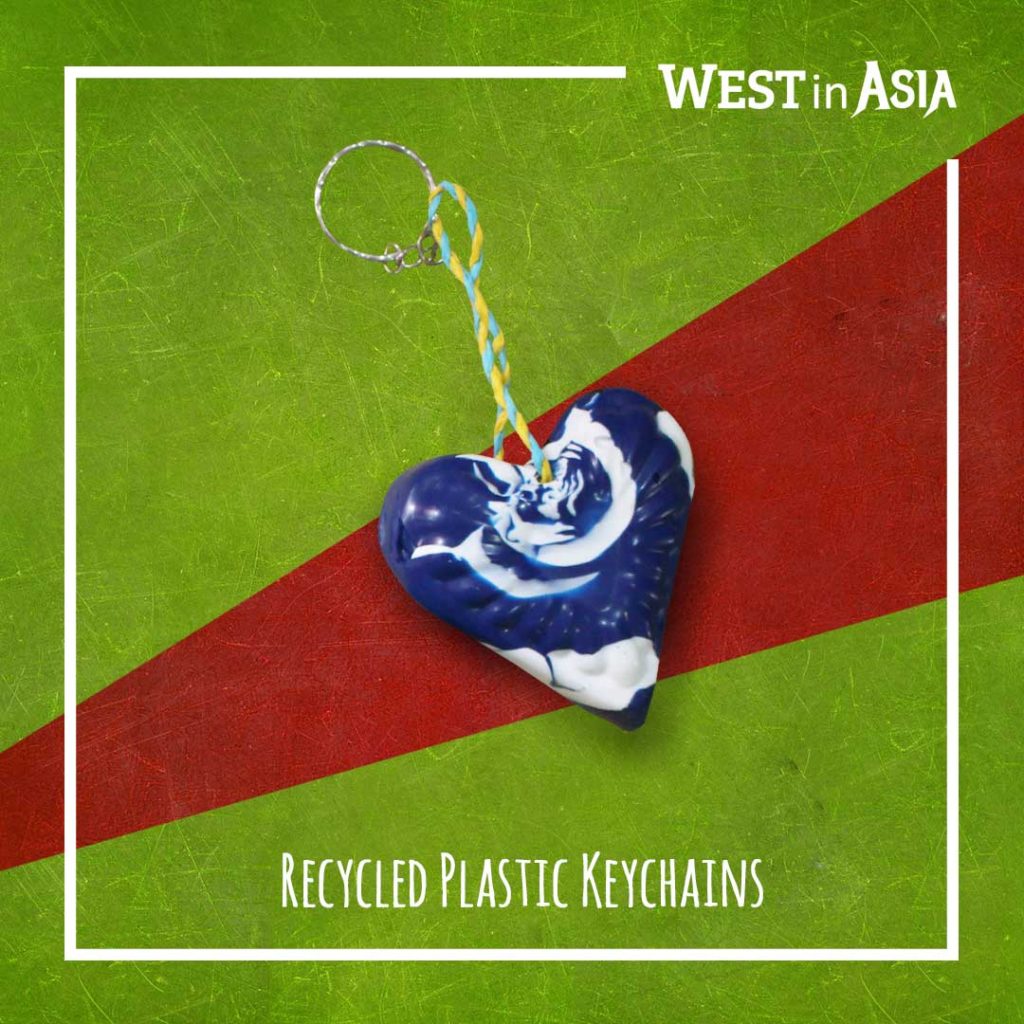
#2 How to make KEYCHAINS Recycing Plastic
What do we need?
– Just an old oven. Whatever. We’ve use the traditional Indonesian aluminium oven, on the top of a single stove and with an external source of gas.
Every gas or electric oven is good to go. Just, please… we don’t use the same we will use for baking our bread! Food with plastic particles it seems not a delicious combo!
– Masks
– Metallic Food Molds. Anything metallic with a smooth, glossy, polished surface. It’s better to always get a double copy of the molds. Or buying 2 copies of it, or cutting in half the longer trays.
– Gardening scissors
– Coloured strings
– Keychain rings
– Gloves
– A big bucket
– A lot of plastic
Got it? So let’s proceed!
1. Wash the Plastic
We put the plastic into the big bucket full of water and we wash it well with some antibacterial dish detergent. First to protect ourselves while touching unknown waste, second because a dirty plastic is not useful. Unwanted materials will melt with plastic ruining the final colours, textures and so results.
2. Dry and Separate the Colours
While we give it a little time to dry, we can start to separate the colours as we please. We found a good combination of tones with: White-Light Blue-Blue, or Black-Yellow-Brown, or all the tones of green or all the tones of red.
3. Cut the Plastic
If we need it, we can now cut the plastic in smaller pieces using the gardening scissors.
4. Turn on the Oven
Turn on the oven and try to reach something around 130º (Celsius). With our old oven we had no idea what we’ve reached, but we simply check the situation by sight using the “extremely dirty” window.
5. Put the Plastic into the Mold
We put the plastic pieces on the mold, paying attention to get abundant, at the same time we try our best to center it within the mold borders.
6. Put the Mold into the Oven when it’s hot
It’s time to bake!
7. Wait for the Plastic Melts
Plastic will take about 10 minutes to melt. We want to keep it under control, even more if we are making our first experiments. Remember, never make it burn! Always take it out from the oven when it is melted enough. No fire and no smoke should be on sight. Just a blobbing glue.
8. Take off the Mold
Using the gloves, we take out the mold from the oven, we put it is somewhere safe, we place the duplicate of the mold on the top and we press it hard. Just using the weight of the body or some efforts from the arms. Then we keep it rest for about 10 minutes.
How do we know when it’s ready? Minutes more, or minutes less, it depends on some factors (for example the external temperature), but to be extremely sure that everything is ready to see the light, we just use our senses. Plastic must get back hard before to move it out from the mold. So if we try to take the top of our press out and we feel it is still sticky and glued, it is not the right time. If we feel instead a sense of hardness, so well, we will not regret to use a bit of our hands power to uncover everything.
9. Take out the Plastic from the Mold
Now we take our new plastic shapes out from the mold and we cut the excess of the borders with the gardening scissors.
10. Drill a Hole
After that, if we need it, we can drill a small hole where to tie our coloured strings. We use to mix 2 or 3 colours of strings just for giving vivacity to the final result.
11. Add Strings and Chains
When the last knot is fixed we can lock the keychain rings. Ta-daaaaan!
#3 How to make a stronger PLASTIC BAG from older plastic bags

What do we need?
– Old single-use plastic bags
– Iron for clothes
– Baking paper
The procedure at this time is very simple.
1. Wash the Plastic Bags
We clean the plastic bags with water and some antibacterial dish detergent.
2. Dry the Plastic Bag
We let it dry well.
3. Lay down the Baking Paper
We will place a piece of baking paper as big as we feel comfortable to work with it.
4. Flatten the Plastic Bag
Putting a lot of patience, we flatten bag by bag as much as we can before to place it on the top of the baking paper. And we start to create some layers of plastic bags.
5. Cover with the Baking Paper
Paying attention to do not move the pattern created below, we are going to cover everything with another piece of baking paper.
6. Turn on the Iron
Turning on the iron for clothes, we will not set it too hot for do not damaging the plastic.
7. Press the Plastic with the Iron
Slowly and carefully, we are going to press with the iron on the top of the baking paper trying to melt the plastic below. Never too long on the same place. Never too fast. Manual experience, at this step, is the key. But very easy to get it.
8. Peel off the Baking Paper
When we feel it’s time and all the layers are merged, it’s time to strip the baking paper away and we should have got a kind of plastic fabric.
To be noted: If we want to produce a very large fabric size, we can. We will just continue to add layers of plastic bags at the previous borders going to enlarge the surface step by step.
9. Cut & Sew
As any other regular fabric, we will go to give a shape on it cutting edges and sewing lines until we’ve created our own bag!
And no, we are not good tailors. We’ve asked the help to a very good stylist in Bali @karmaleon.by.emma and she made the job and design for us.
#4 How to make a FRAME with Recycled Plastic (or any other customized shape)

What do we need?
– Aluminium sheets.
– A Screwdriver with a flat head
– A Hammer
– Masks
– Just an old Oven. Same instruction as above.
– Gardening scissors
– Gloves
– A big bucket
– A lot of plastic
The main goal here is to create a customised shape made of aluminium creating a recycled plastic item, without going to press it as before. The aluminium sheets are cheap and almost easy to manage but with a lot of patience. The potentiality here are endless.
Let’s proceed.
1. Design your Idea
First of all we need an idea. We thought that frames could be a great one, so we put on paper a design complete with sizes and projects. Building a mold could be tricky at this time. For example the one showed on the video had actually a problem. We had to build another internal structure to cover 4 junctures missing where the melting plastic slid away. Lesson learned. I hope you will make it much better than us.
2. Draw the guidelines on the Aluminium Sheet
With a pencil or a maker we go now to draw the lines on the aluminium sheet that we will use as guides to fold it correctly.
3. Hit the Aluminium with the Head of the Screwdriver
Aluminium is hard to get folded without playing with it a while before. A flat headed screwdriver is the best ally. We place the flat head on the top of the lines and with the hammer we are going to hit it cm by cm. Some small hollows all around the lines will make the folding process much and much easier. Be very carefully! Aluminium borders are very sharp and it’s very easy they make bad and deep cuts.
4. Fill the Mold with Plastic and Bake it.
After we’ve got our molds, we will fill it with plastic and put it in the oven as above. We will abound with plastic over-filling every centimetre of the mold.
5. Let it Cool Down
When the plastic has melted, if we’ve placed it correctly, it will not need any press at this time. We just leave it dry outside and wait for it becomes cold. Ta-daaaan! All done!
WHAT TO DO NOW?
Are you joking? You have gold in your hands. You have just made an extraordinary project, you have extraordinary product that didn’t harm our planet, instead you’ve even just extraordinary cleaned it!
Just advertise your stuff a bit, get a deal with people, go online and sell it everywhere.
Starting from a budget 0 will be very easy to get your way!
WE WISH YOU THE BEST OF THE LUCK!
And we would love to hear from you when you start to make this stuff real!
Our best thanks go to:
– Preciousplastic.com for giving us the input and all the knowledge base
– @Karmaleon.by.Emma for helping us with the tailoring.
– @BckyrdCustoms for helping us with the first mold experiments
Follow us also on:
► Youtube: https://youtube.com/channel/UCmrClpMkLaOBfwH9jPvPvVA
► Instagram: https://instagram.com/westinasia
► Facebook: https://facebook.com/westinasia

Matteo & Milia
About the Autors: Matteo, digital nomad. Milia, pharmacist. Happily married, living in Bali, often traveling around.


